SALE
Solar Charge Controller, 12V/24V, 10A

Solar Charge Controller, 12V/24V, 10A

SCC10A
4.3136 Reviews
R 18.00R 20.60
🚚 Ships in 3-5 work days

SCC10A

🛡️
Warranty
6-Month Limited Warranty.
↩️
Return Policy
Hassle-Free Exchanges & Returns for 7 Days.

Product Information

SKU70295278
Stock StatusIn Stock
Safe Checkout

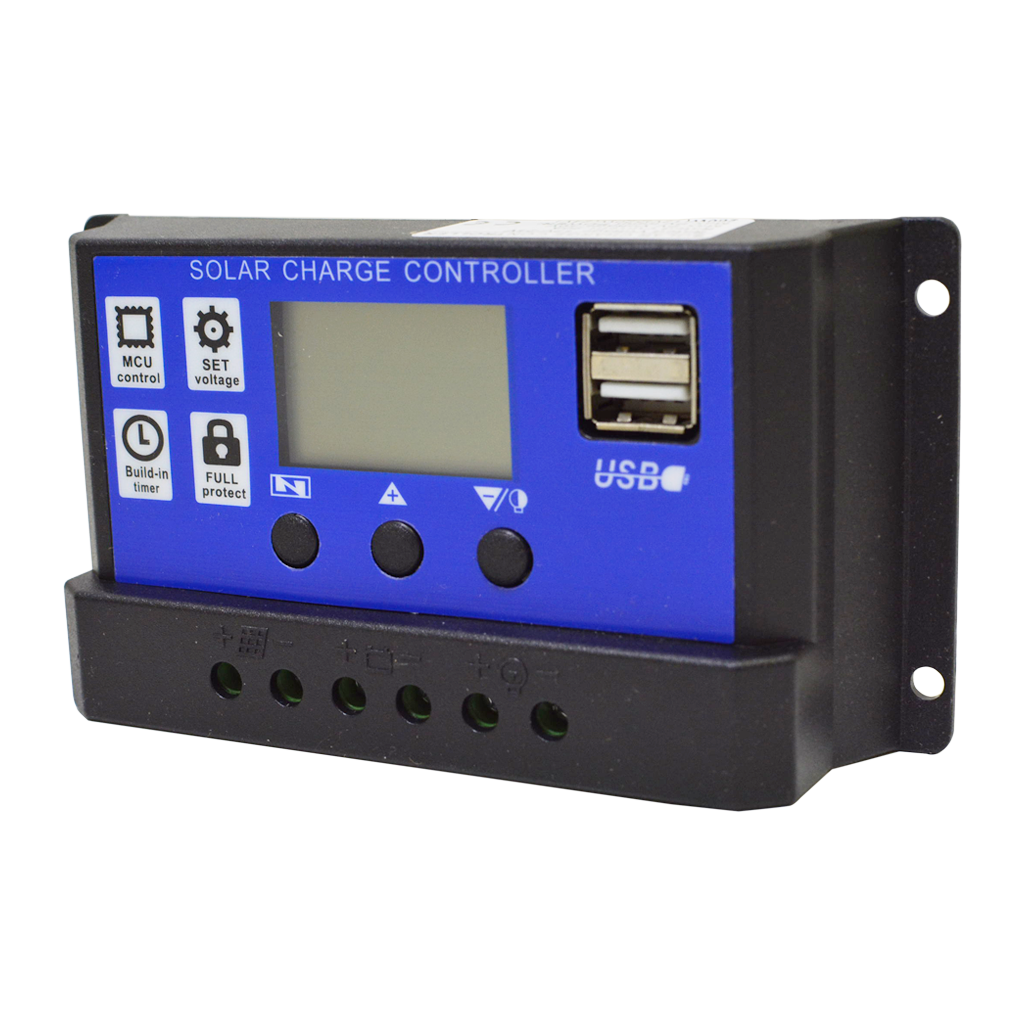
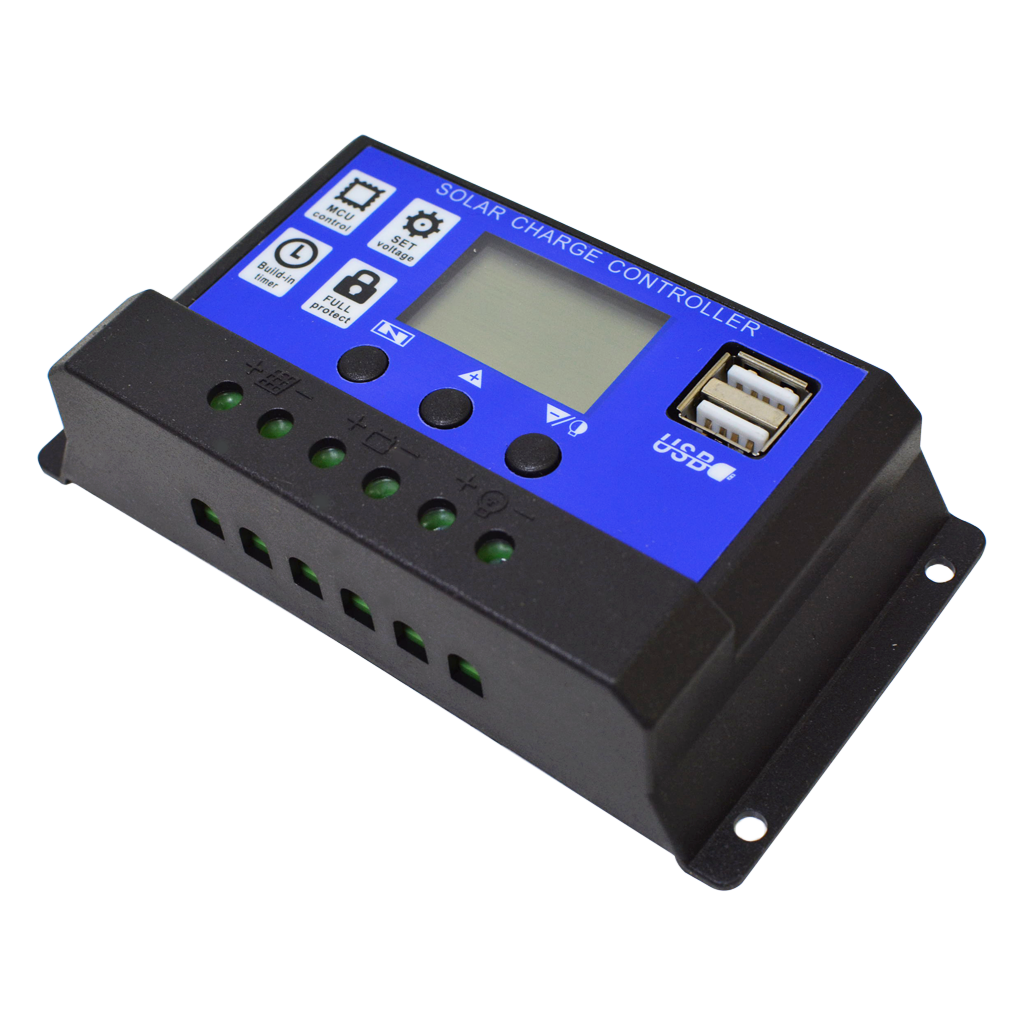
This 10A Solar Charge Controller is designed for 12V and 24V Lead-Acid, Gel & AGM Deep Cycle batteries. It automatically detects the type of battery used in your set up and is plug-an-play (internal values can be adjusted manually).

FEATURES:

  • 10A Solar Charge Controller with 3-stage PWM charge management
  • Supported battery types: Lead-Acid, Gel, AGM Deep Cycle batteries, 12V and 24V-
  • Dual USB output ports (5V, 2.5A)- compatible with multiple digital devices
  • LCD display - voltage, status, time, load, output, charge & more
  • Suitable for home, industrial & commercial purposes
  • Safe (CE-marked), easy to operate & install

Multiple electronic protection:

  • Open-circuit protection
  • Short-circuit protection
  • Reverse protection
  • Over-load protection
  • Dual Mosfet reverse current protection

SPECIFICATIONS:

  • Type: PWM-Type Solar Charge Controller, 10A, 12V/24V
  • Battery type: DC 12V/24V (auto-detect)
  • Charge current: 10A
  • Discharge current: 10A
  • USB output: 5V/2.5A maximum
  • Maximum solar input: 23V/46V
  • Equalization: sealed 14.4V / gel 14.2V / flooded 14.6V
  • Float charge: 13.7V/27.4V
  • Discharge stop: 10.7V/21.4V
  • Discharge reconnect: 12.6V/25.2V
  • Operating temperature: -35 C to 60 C
  • Product dimensions: 133.5 x 70 x 35mm
  • Weight: 165g

INSTRUCTIONS:

Wiring steps

1. Screw the adjustment screw anti-clockwise until the plates move down

2. Insert the wire into the new opening between the plate and the "top" of the terminal hole, not underneath it

3. Screw the adjuster clockwise. The plate will move upwards, therefore squashing the wire in the terminal hole

Installation steps

1. Connect the system in the order: battery, then load, then PV array

2. Disconnect the system in the reverse order: PV array, then load, then the battery

Notes:

  • Ensure your battery has enough voltage for the controller to recognize the battery before the first installation
  • The working temperature of this controller is -35 C to 60 C
  • Please keep the controller in a cool & well-ventilated place to maintain good heat dissipation

What's in the box
1 x Solar Charge Controller, 12V/24V, 10A
1 x User's manual

This 10A Solar Charge Controller is designed for 12V and 24V Lead-Acid, Gel & AGM Deep Cycle batteries. It automatically detects the type of battery used in your set up and is plug-an-play (internal values can be adjusted manually).

FEATURES:

  • 10A Solar Charge Controller with 3-stage PWM charge management
  • Supported battery types: Lead-Acid, Gel, AGM Deep Cycle batteries, 12V and 24V-
  • Dual USB output ports (5V, 2.5A)- compatible with multiple digital devices
  • LCD display - voltage, status, time, load, output, charge & more
  • Suitable for home, industrial & commercial purposes
  • Safe (CE-marked), easy to operate & install

Multiple electronic protection:

  • Open-circuit protection
  • Short-circuit protection
  • Reverse protection
  • Over-load protection
  • Dual Mosfet reverse current protection

SPECIFICATIONS:

  • Type: PWM-Type Solar Charge Controller, 10A, 12V/24V
  • Battery type: DC 12V/24V (auto-detect)
  • Charge current: 10A
  • Discharge current: 10A
  • USB output: 5V/2.5A maximum
  • Maximum solar input: 23V/46V
  • Equalization: sealed 14.4V / gel 14.2V / flooded 14.6V
  • Float charge: 13.7V/27.4V
  • Discharge stop: 10.7V/21.4V
  • Discharge reconnect: 12.6V/25.2V
  • Operating temperature: -35 C to 60 C
  • Product dimensions: 133.5 x 70 x 35mm
  • Weight: 165g

INSTRUCTIONS:

Wiring steps

1. Screw the adjustment screw anti-clockwise until the plates move down

2. Insert the wire into the new opening between the plate and the "top" of the terminal hole, not underneath it

3. Screw the adjuster clockwise. The plate will move upwards, therefore squashing the wire in the terminal hole

Installation steps

1. Connect the system in the order: battery, then load, then PV array

2. Disconnect the system in the reverse order: PV array, then load, then the battery

Notes:

  • Ensure your battery has enough voltage for the controller to recognize the battery before the first installation
  • The working temperature of this controller is -35 C to 60 C
  • Please keep the controller in a cool & well-ventilated place to maintain good heat dissipation

What's in the box
1 x Solar Charge Controller, 12V/24V, 10A
1 x User's manual

More in Solar Power Parts