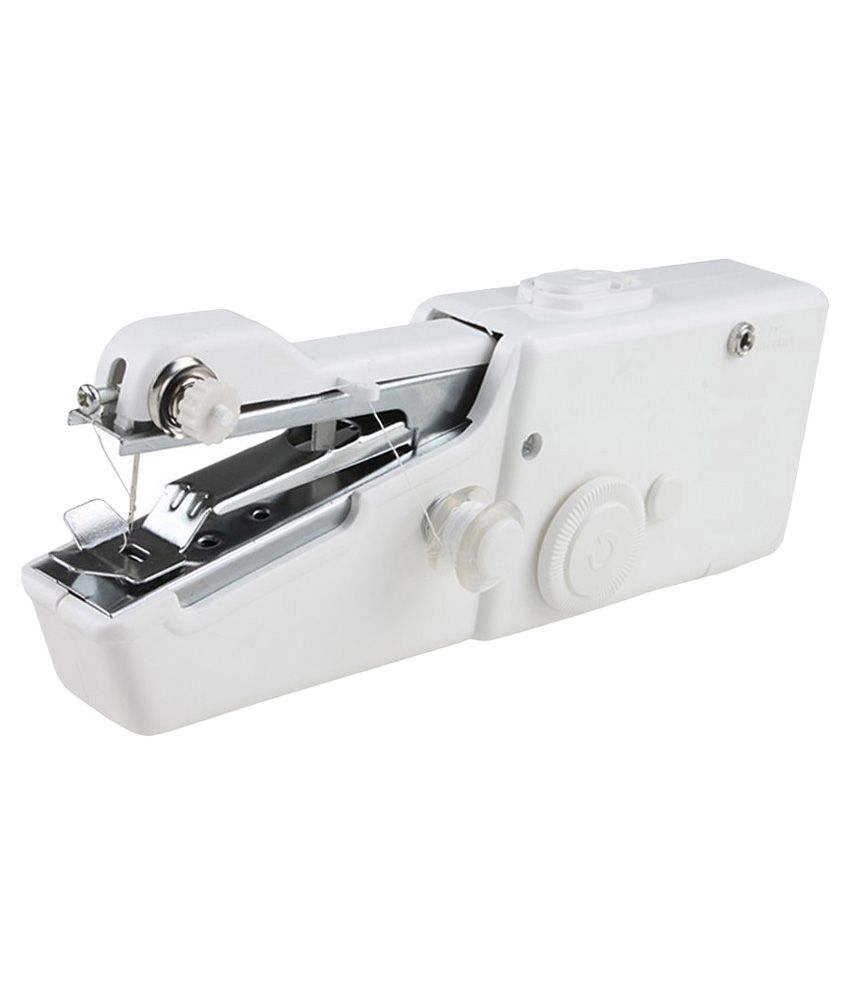
xperience seamless sewing with this versatile, compact machine designed for all your household repair and creative craft projects. Engineered for ease of use, it offers a user-friendly interface suitable for both beginners and experienced sewists looking for a portable solution. The lightweight construction ensures it fits perfectly on any tabletop, making it an essential addition to your DIY toolkit. With integrated features like an LED light and multiple stitch options, it provides professional results for basic repairs, home decor, and custom sewing tasks. Reliable and efficient, this machine simplifies your workflow while delivering precise, high-quality stitches every time.
Key Features
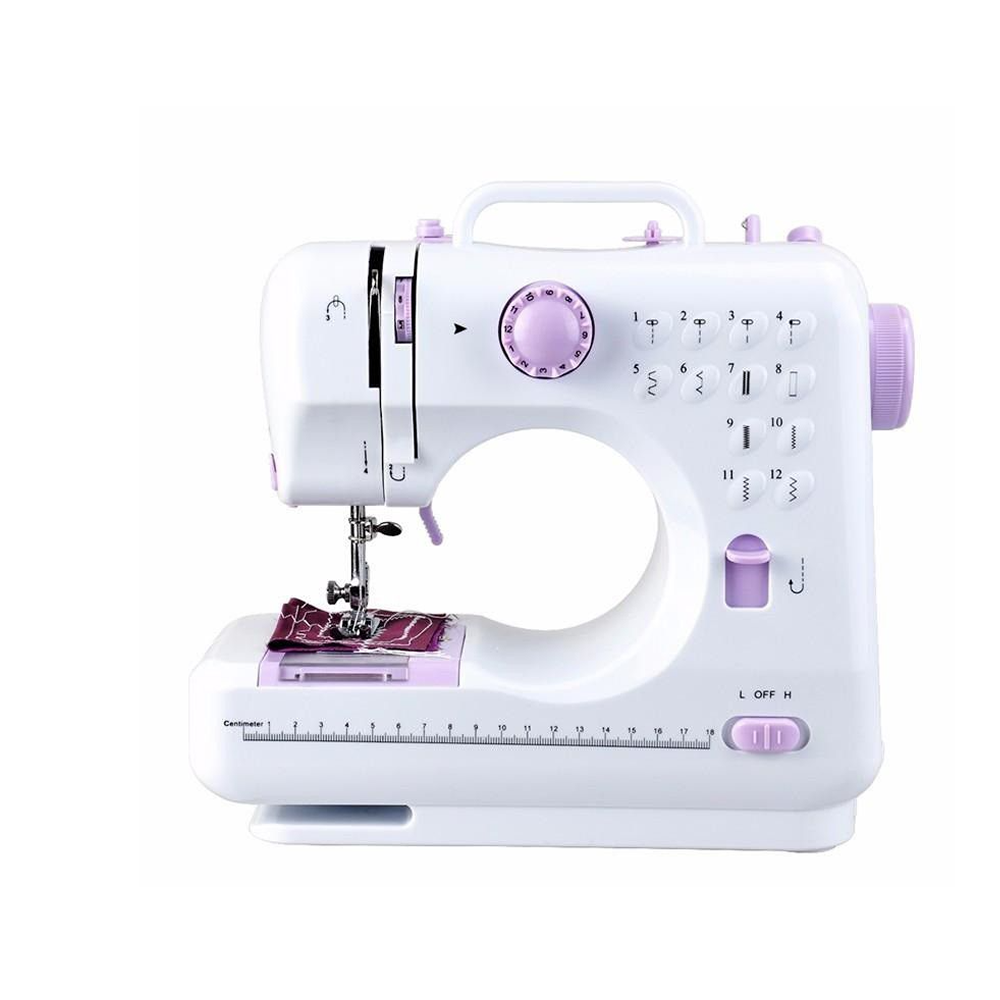
- 12 pre-programmed built-in stitch patterns for versatile sewing
- Integrated LED light for improved visibility and precision
- Compact, portable design ideal for home storage and travel
- Durable stainless steel hook tip for consistent performance
- Features a convenient built-in bobbin rewinder and accessory drawer
- Supports reverse sewing and interchangeable presser feet
- Easy-to-use interface with simple button controls for stitch selection
1. Power Setup
- Power Source: Connect the AC/DC adapter to the port on the back of the machine and plug it into a wall outlet. Alternatively, you can insert 4x AA batteries into the bottom compartment (ensure the power switch is in the OFF position first).
- Controls: Connect the foot pedal to the back of the machine. You can control the speed using the pedal or by sliding the OFF/L/H switch on the front (L = Low speed, H = High speed).
2. Winding the Bobbin
- Place a thread spool on the top pin.
- Guide the thread through the tension disk on the top left.
- Wind the end of the thread clockwise around the empty bobbin a few times.
- Place the bobbin onto the bobbin winder pin and push it to the right.
- Turn the machine on to start winding. Once full, move the pin back to the left, remove the bobbin, and cut the thread.
3. Threading the Machine
- Upper Thread: Follow the numbered guide path on the machine. Ensure the thread goes through the take-up lever and down into the eye of the needle (front to back).
- Lower Bobbin: Place the wound bobbin into the bobbin case under the needle plate. Ensure the thread is feeding in a clockwise direction. Use the handwheel (rotate toward yourself) to pick up the bottom thread so it loops with the top thread. Pull both threads back under the presser foot.
4. How to Start Sewing
- Raise the Needle: Use the handwheel on the side to bring the needle to its highest position.
- Position Fabric: Lift the presser foot, place your fabric underneath, and lower the foot.
- Select Stitch: Rotate the pattern selection dial to your desired stitch number (1-12).
- Begin: Either press the foot pedal or slide the speed switch to L or H.
- Finishing: When finished, stop the machine, raise the needle to the highest position, lift the presser foot, and pull the fabric gently away to the left. Use the built-in thread cutter on the side to finish.
Essential Safety Tips
- Always Switch Off: Unplug or turn off the machine when threading, changing the needle, changing the bobbin, or performing any maintenance.
- Needle Placement: When replacing a needle, ensure the flat side is facing the correct direction (usually toward the back or right, depending on your specific needle clamp orientation).
- Practice: Always test your stitch settings and tension on a scrap piece of fabric before working on your actual project.
What's in the box
1 x Mini Multifunctional Household Sewing Machine Compact Portable Craft Tool