SALE
Collection of 9 Inspirational stencils (15cm per stencil)

Collection of 9 Inspirational stencils (15cm per stencil)

Cut from high quality stencil material and all designs done in South Africa
4.98 Reviews
R 25.00R 30.00
🚚 Ships in 7-9 work days

Cut from high quality stencil material and all designs done in South Africa

🛡️
Warranty
6-Month Limited Warranty.
↩️
Return Policy
Hassle-Free Exchanges & Returns for 7 Days.

Product Information

SKU91244502
Stock StatusIn Stock
Safe Checkout

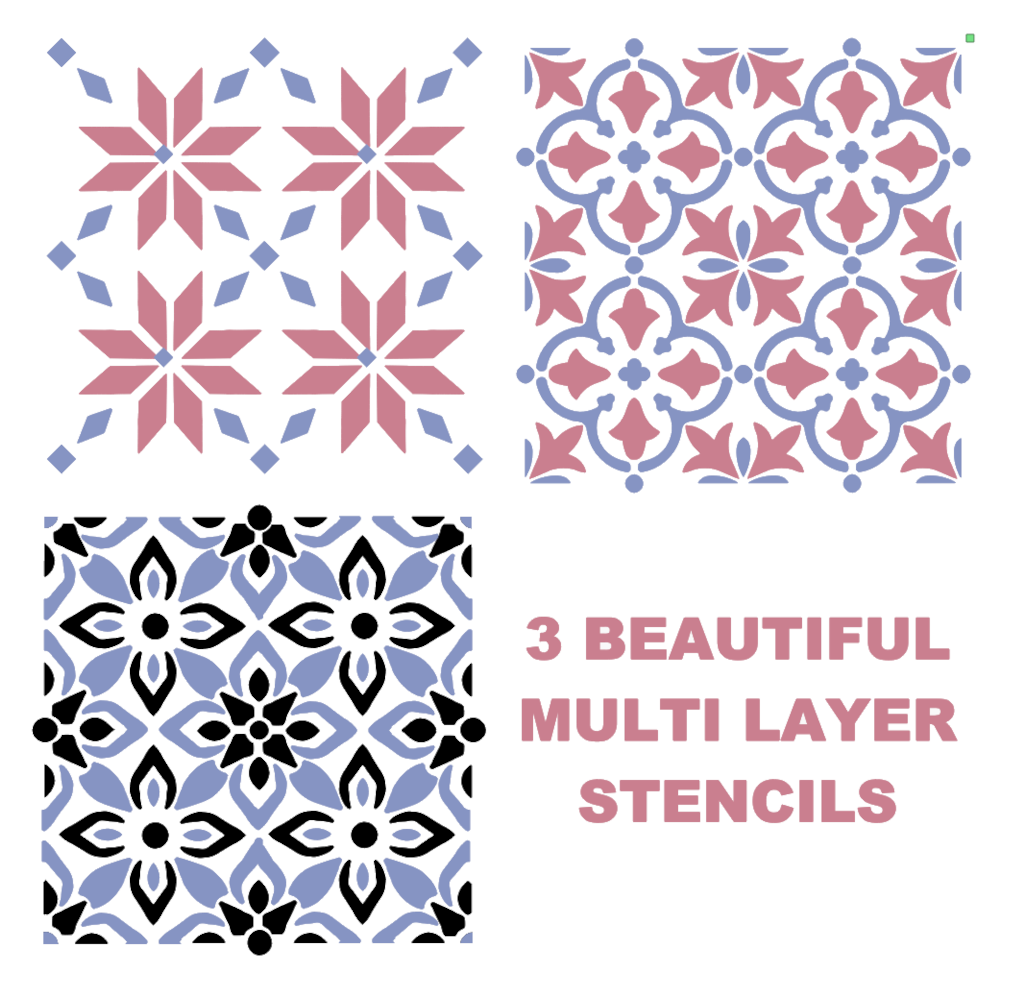
This collection of 9 stencils is perfect for tiles (15cm), boards, etc.

Included in the collection are:

Your are Loved

Dream BIG

if not now, WHEN

The BEST is yet to come

Home Sweet Home

Little by Little, one travel FAR

If not now, WHEN?

Never Give Up

Every Moment Matter

Our Reusable Stencils are manufactured in South Africa and designed by local artists.

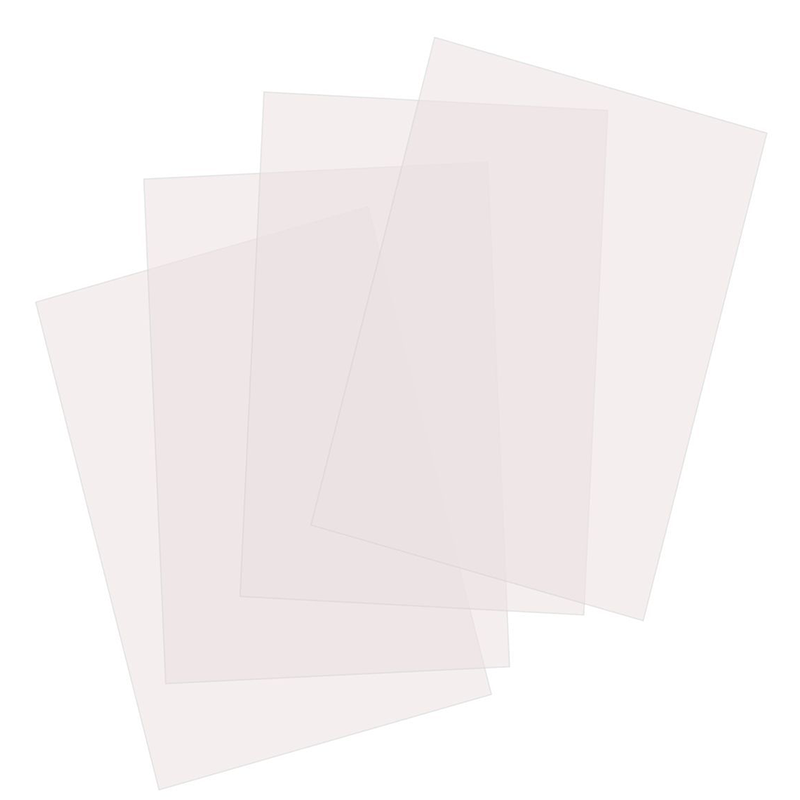
We offer the highest quality decorative stencils for today's DIY enthusiasts. Our stencils are Polyester Film (Mylar).

How to use our stencils:

Using stencils made from mylar, a durable polyester film, is a straightforward process that allows you to create precise and repeatable designs on various surfaces. Here's a step-by-step guide on how to use mylar stencils effectively:

1. Prepare Your Work Surface: Ensure that the surface you plan to stencil on is clean, dry, and free from any dust or debris. If necessary, use a mild soap and water solution to clean the surface and allow it to dry completely before proceeding.

2. Secure the Stencil: Place the mylar stencil flat on your work surface, making sure it lies completely flat and does not have any wrinkles or creases. Use painter's tape or adhesive spray to secure the edges of the stencil firmly in place to prevent any shifting during the stenciling process.

3. Choose Your Paint: Select the appropriate type of paint for your project and surface. Acrylic paints are commonly used for stenciling on walls, furniture, and crafts, as they offer good coverage, durability, and easy cleanup. Make sure to choose paint colors that complement your design and achieve the desired effect.

4. Apply the Paint: Pour a small amount of paint onto a palette or disposable plate. Load a stencil brush, foam roller, or spray paint applicator with paint, ensuring that it is evenly coated but not overloaded. Lightly dab or roll the paint onto the stencil, using a tapping or stippling motion to avoid seepage under the edges of the stencil. Work from the outer edges of the stencil towards the center to prevent smudging or bleeding.

5. Remove the Stencil: Once you have applied the paint evenly over the entire stencil, carefully lift the stencil away from the surface using one hand while holding down any remaining edges with the other hand to prevent smudging. Lift the stencil straight up and away from the surface to reveal the crisp, clean design underneath.

6. Clean the Stencil: After each use, clean the mylar stencil thoroughly to remove any excess paint and prevent buildup. Depending on the type of paint used, you can clean the stencil with warm, soapy water or a mild solvent. Gently wipe the stencil with a soft cloth or sponge, being careful not to scratch or damage the delicate surface of the mylar.

7. Repeat as Desired: If you need to create multiple copies of the same design or pattern, simply reposition the stencil on the surface and repeat the stenciling process until you achieve the desired coverage and effect. Allow the paint to dry completely before repositioning or overlapping the stencil to avoid smudging or smearing.

By following these steps, you can effectively use mylar stencils to create beautiful and intricate designs on a variety of surfaces, from walls and furniture

to fabric and paper crafts. With practice and experimentation, you can achieve stunning results and unleash your creativity with stencils made from durable mylar film.

What's in the box
9 X 15cm Stencils

This collection of 9 stencils is perfect for tiles (15cm), boards, etc.

Included in the collection are:

Your are Loved

Dream BIG

if not now, WHEN

The BEST is yet to come

Home Sweet Home

Little by Little, one travel FAR

If not now, WHEN?

Never Give Up

Every Moment Matter

Our Reusable Stencils are manufactured in South Africa and designed by local artists.

We offer the highest quality decorative stencils for today's DIY enthusiasts. Our stencils are Polyester Film (Mylar).

How to use our stencils:

Using stencils made from mylar, a durable polyester film, is a straightforward process that allows you to create precise and repeatable designs on various surfaces. Here's a step-by-step guide on how to use mylar stencils effectively:

1. Prepare Your Work Surface: Ensure that the surface you plan to stencil on is clean, dry, and free from any dust or debris. If necessary, use a mild soap and water solution to clean the surface and allow it to dry completely before proceeding.

2. Secure the Stencil: Place the mylar stencil flat on your work surface, making sure it lies completely flat and does not have any wrinkles or creases. Use painter's tape or adhesive spray to secure the edges of the stencil firmly in place to prevent any shifting during the stenciling process.

3. Choose Your Paint: Select the appropriate type of paint for your project and surface. Acrylic paints are commonly used for stenciling on walls, furniture, and crafts, as they offer good coverage, durability, and easy cleanup. Make sure to choose paint colors that complement your design and achieve the desired effect.

4. Apply the Paint: Pour a small amount of paint onto a palette or disposable plate. Load a stencil brush, foam roller, or spray paint applicator with paint, ensuring that it is evenly coated but not overloaded. Lightly dab or roll the paint onto the stencil, using a tapping or stippling motion to avoid seepage under the edges of the stencil. Work from the outer edges of the stencil towards the center to prevent smudging or bleeding.

5. Remove the Stencil: Once you have applied the paint evenly over the entire stencil, carefully lift the stencil away from the surface using one hand while holding down any remaining edges with the other hand to prevent smudging. Lift the stencil straight up and away from the surface to reveal the crisp, clean design underneath.

6. Clean the Stencil: After each use, clean the mylar stencil thoroughly to remove any excess paint and prevent buildup. Depending on the type of paint used, you can clean the stencil with warm, soapy water or a mild solvent. Gently wipe the stencil with a soft cloth or sponge, being careful not to scratch or damage the delicate surface of the mylar.

7. Repeat as Desired: If you need to create multiple copies of the same design or pattern, simply reposition the stencil on the surface and repeat the stenciling process until you achieve the desired coverage and effect. Allow the paint to dry completely before repositioning or overlapping the stencil to avoid smudging or smearing.

By following these steps, you can effectively use mylar stencils to create beautiful and intricate designs on a variety of surfaces, from walls and furniture

to fabric and paper crafts. With practice and experimentation, you can achieve stunning results and unleash your creativity with stencils made from durable mylar film.

What's in the box
9 X 15cm Stencils

More in Technical Instruments